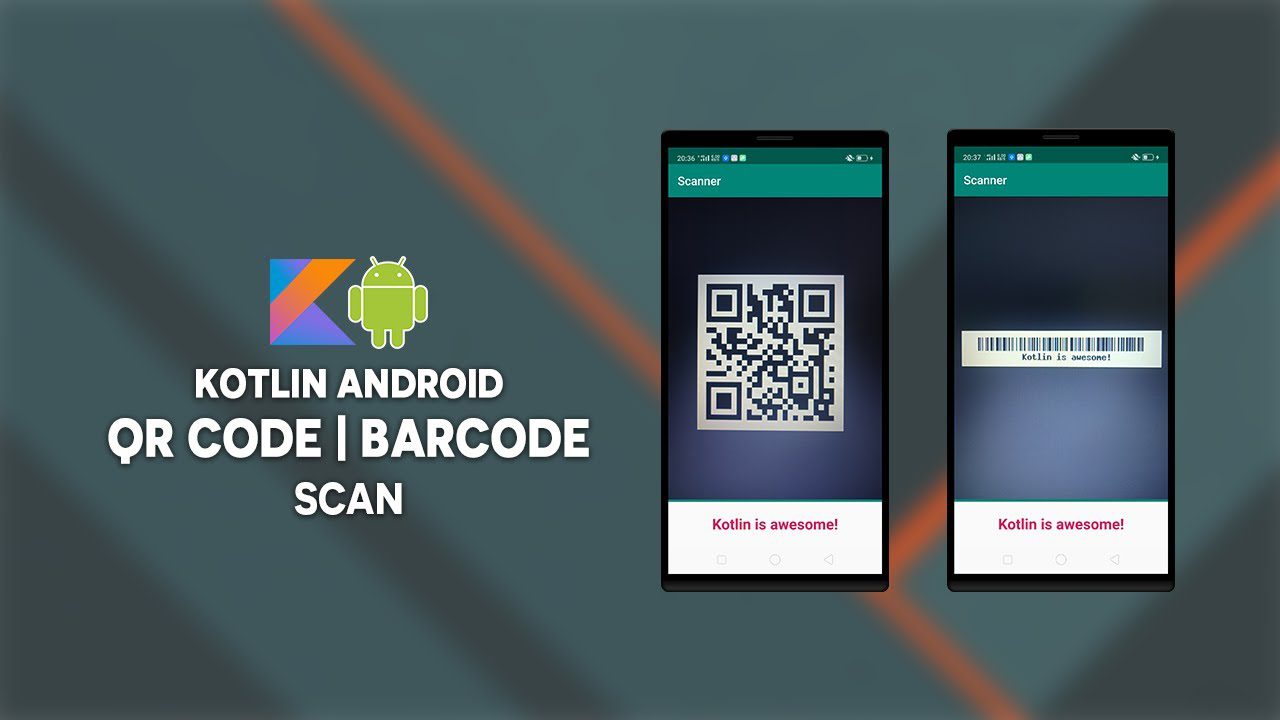
You may have noticed that QR codes are popping up all around and many of us have become accustomed to using these codes to quickly access information. As a developer know that qr codes are quick, easy, convenient, and alluring for users to scan. Within this read you will learn to implement a QR code scanner in Android Studio with very few steps.
Project Creation
Well of course you need somewhere to start so firing up your Android Studio it you haven’t already. Select the project you prefer to use but for this tutorial we are going to use the “Empty Activity” template just to keep it simple. (If you require more content on the different templates check out: Blah Blah)
NOTE: minimum SDK is 7.0
Adding Gradle Dependency and Manifest
Before we can access the class from ZXing we need to import the dependency to the module build.gradle file. (I always suggest using the latest stable version with that I suggest using the project structure when import dependencies) We also need to add permission to the AndroidMainfest.xml to access to the camera.
NOTE: If you are not familiar with using the Project Structure, please see blog regarding this feature in android studio.
// build.gradle
dependencies {

    implementation 'androidx.core:core-ktx:1.7.0'
    implementation 'androidx.appcompat:appcompat:1.3.0'
    implementation 'com.google.android.material:material:1.4.0'
    implementation 'androidx.constraintlayout:constraintlayout:2.0.4'
    implementation 'com.journeyapps:zxing-android-embedded:4.3.0' //added
    testImplementation 'junit:junit:4.13.2'
    androidTestImplementation 'androidx.test.ext:junit:1.1.3'
    androidTestImplementation 'androidx.test.espresso:espresso-core:3.4.0'
}
// AndroidMainifest.xml
<manifest xmlns:android="http://schemas.android.com/apk/res/android"
    package="com.programmingninja.qrreader">

    <uses-permission android:name="android.permission.CAMERA" />

    <application
        android:allowBackup="true"
        android:icon="@mipmap/ic_launcher"
        android:label="@string/app_name"
        android:roundIcon="@mipmap/ic_launcher_round"
        android:supportsRtl="true"
        android:theme="@style/Theme.QRReader">
        <activity
            android:name=".MainActivity"
            android:exported="true">
            <intent-filter>
                <action android:name="android.intent.action.MAIN" />
                <category android:name="android.intent.category.LAUNCHER" />
            </intent-filter>
        </activity>
    </application>
</manifest>
Updating Layout
Now that we have completed the lightweight stuff lets begin by updating the activity_main.xml. We are going to keep the ConstraintLayout and add within it AppCompatTextView and AppCompatImageButton.
<?xml version="1.0" encoding="utf-8"?>
<androidx.constraintlayout.widget.ConstraintLayout xmlns:android="http://schemas.android.com/apk/res/android"
    xmlns:app="http://schemas.android.com/apk/res-auto"
    xmlns:tools="http://schemas.android.com/tools"
    android:layout_width="match_parent"
    android:layout_height="match_parent"
    tools:context=".MainActivity">

    <androidx.appcompat.widget.AppCompatTextView
        android:layout_width="wrap_content"
        android:layout_height="wrap_content"
        android:id="@+id/tv_message"
        android:text="Tap Button Below to Begin Scanning!"
        app:layout_constraintBottom_toBottomOf="parent"
        app:layout_constraintLeft_toLeftOf="parent"
        app:layout_constraintRight_toRightOf="parent"
        app:layout_constraintTop_toTopOf="parent" />

    <androidx.appcompat.widget.AppCompatImageButton
        android:layout_width="wrap_content"
        android:layout_height="wrap_content"
        android:id="@+id/img_btn_qr"
        app:layout_constraintBottom_toBottomOf="parent"
        app:layout_constraintEnd_toEndOf="parent"
        app:layout_constraintStart_toStartOf="parent"
        app:layout_constraintTop_toBottomOf="@+id/tv_message"
        android:src="@drawable/ic_baseline_qr_code_scanner_24"/>
</androidx.constraintlayout.widget.ConstraintLayout>
Finally Some Kotlin Writing
Within this class we need to use the ZXing IntentIntegrator to override the onActivityResult function. IntentIntegrator allows us to start the scanner with a few lines of code. The result will then appear in our Activity’s and if the user has not provided permission, yet they are present a message to provide access. After access is provided and user scans a code a new AlertDialog is present to perform action from the QR code itself. I will provide the code and blew the snippet you will be informed of everything is greater detail
package com.programmingninja.qrreader

import android.app.SearchManager
import android.content.DialogInterface
import android.content.Intent
import androidx.appcompat.app.AppCompatActivity
import android.os.Bundle
import androidx.appcompat.app.AlertDialog
import androidx.appcompat.widget.AppCompatButton
import androidx.appcompat.widget.AppCompatImageButton
import androidx.appcompat.widget.AppCompatTextView
import com.google.zxing.integration.android.IntentIntegrator

@Suppress("DEPRECATION")
class MainActivity : AppCompatActivity() {
    override fun onCreate(savedInstanceState: Bundle?) {
        super.onCreate(savedInstanceState)
        setContentView(R.layout.activity_main)

        val msgTxt:AppCompatTextView = findViewById(R.id.tv_message)
        val imgBtn:AppCompatImageButton = findViewById(R.id.img_btn_qr)

        imgBtn.setOnClickListener {
            val intentIntegrator = IntentIntegrator(this)

            intentIntegrator.setDesiredBarcodeFormats(listOf(IntentIntegrator.QR_CODE))
            intentIntegrator.initiateScan()
        }
    }

    override fun onActivityResult(requestCode: Int, resultCode: Int, data: Intent?) {
        super.onActivityResult(requestCode, resultCode, data)

        val res = IntentIntegrator.parseActivityResult(resultCode,data)

        if (res != null) {
            AlertDialog.Builder(this).setMessage("Would you like to go to ${res.contents}?")
                .setPositiveButton("Accept", DialogInterface.OnClickListener{
                    dialogInterface, i -> val intent = Intent(Intent.ACTION_WEB_SEARCH)
                    intent.putExtra(SearchManager.QUERY, res.contents)
                    startActivity(intent)
                })
                .setNegativeButton("Deny", DialogInterface.OnClickListener{ dialogInterface, i ->  })
                .create()
                .show()
        }
    }
}
Let’s first review the onCreate function, we are referencing the views in the layout, then we assign an OnClickListener to our AppCompatImageButton which then use an instance of IntentIntegrator which begin the scan. We are settubg tge setDesiredBarcodeFormats function on the variable intentIntegrator. This function allows us to narrow down our barcode format to only focus. The ZXing IntentIntegrator class has support for several barcode formats, however for this tutorial we are going to focus on QR codes. Start the scan using the variable iIntegrator initiateScan function.
Now we create a function called onActivityResult and for this function to work we have to call the super.OnActivityResult function. In this function we create a variable called ‘res’ which holds the data collected from iIntegrator parseActivityResult function. Inside the function is a conditional statement to check if the scan is empty
Within the statement, we build an AlertDialog with a positive and negative button and each button have an action assigned to them. If the positive button is selected then an Intent will be used to start an internet search with QR code’s data but if the negative button is selected then user remains within the app.
Install, Test and Verify
If everything is implemented correctly, we can test the app, run it in the android studio and install it on a device. Now that the app installed, the app will open automatically and display the text and image button. when the user it will request permission to access the camera in your Setting. The camera reads the code and presents it in the AlertDialog a message that is stored in the qr code.
android-tutorial (this link opens in a new window) by daurislittle (this link opens in a new window)
Android Tutorial beginner and advance


